
Free Inquiry #4
Starting Small…
Part 2:
For this blog, I am continuing my small sewing project by attaching the pockets and strap to the backing of my hanging fabric organizer.
Attaching the Pockets…
1. Position and Pin the Pockets
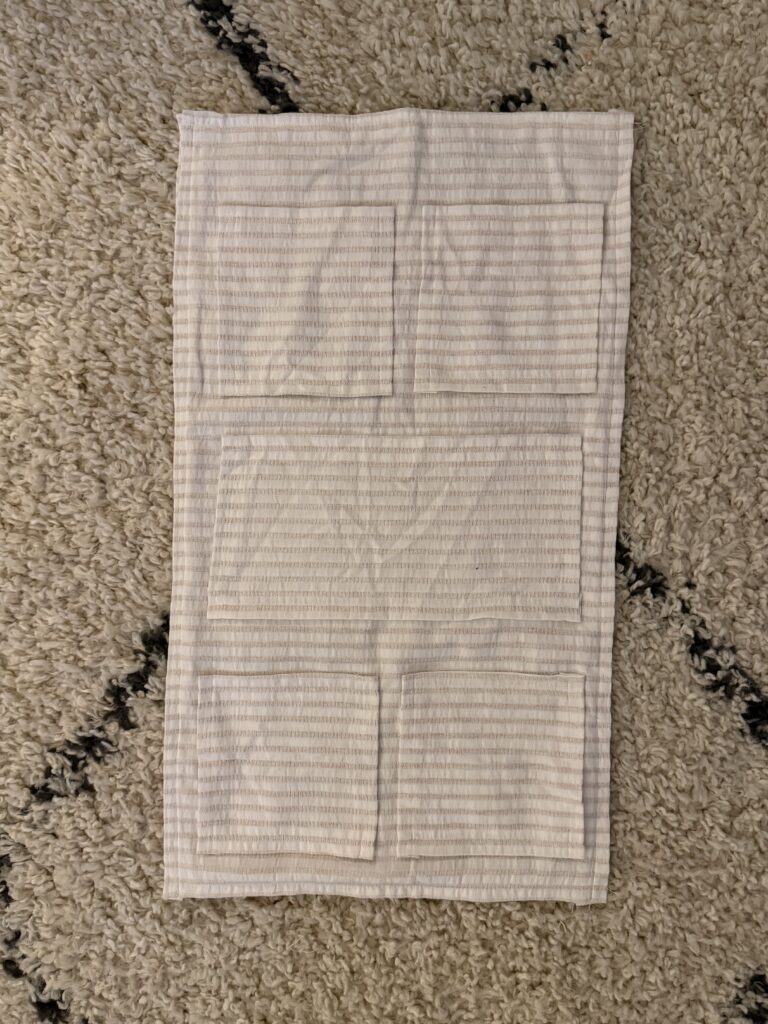
- I started by laying out the four smaller pockets and one larger pocket in the centre of the backing.
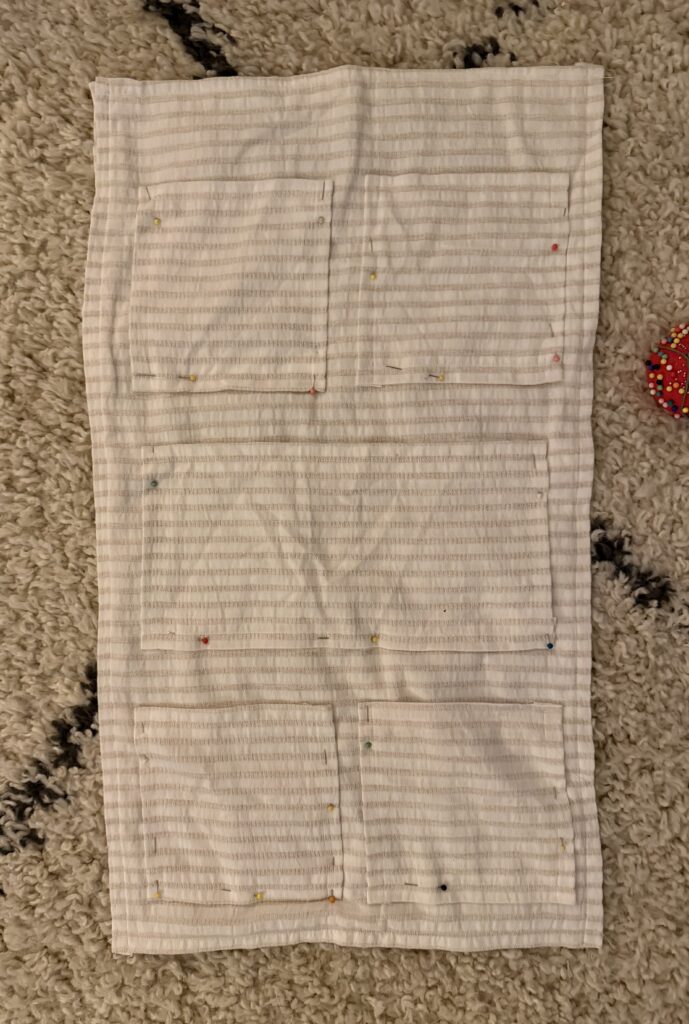
- Once I was happy with the placement, I pinned each pocket in place.
- To keep the pockets straight, I used the fabric’s lines as a guide.
2. Sew the Pockets in Place
- I sewed along the sides and bottom of each pocket, leaving the top open.
- To sew around the corners, I lifted the presser foot, manually positioned the needle in the fabric, turned the fabric, lowered the foot, and continued stitching.
- I also added a small stitch down the middle of the larger pocket to help it lay flat against the backing.
Photos of the Process…
Creating and Attaching the Strap…
For the final step, I needed to create a strap to hang my organizer. I decided to use the same fabric as the backing to keep the design consistent. I also decided to use one strap instead of two.
1. Create the Strap
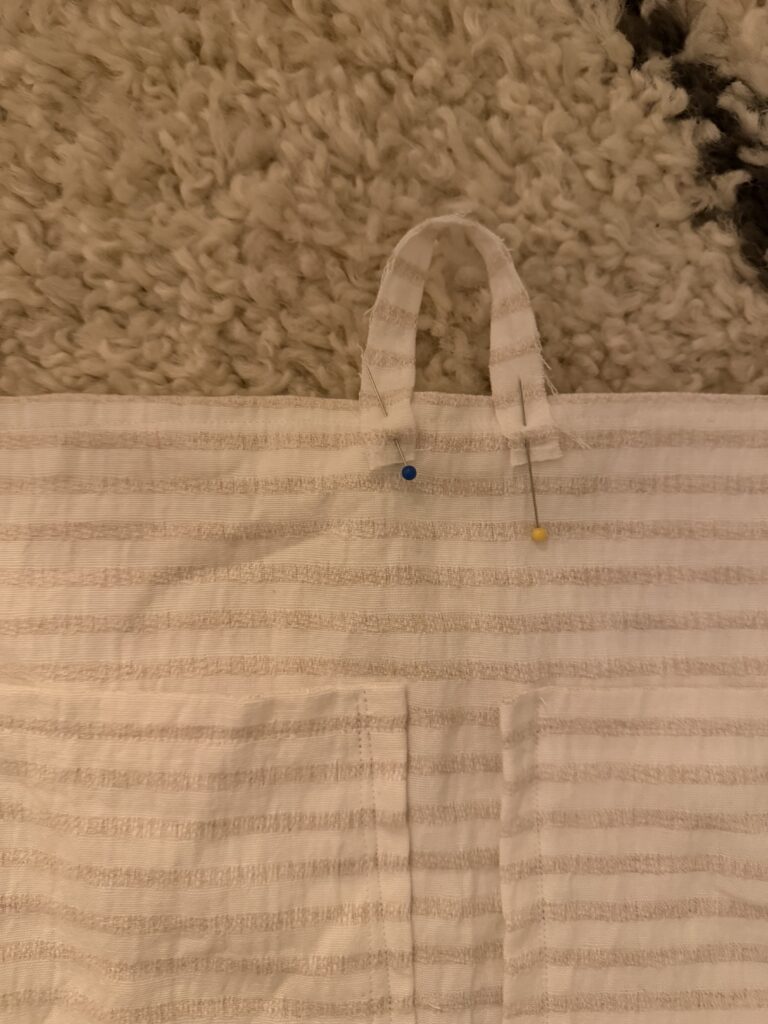
- I cut a long strip of fabric and folded the edges inward.
- I pinned the strap in place and estimated the length based on how I wanted the organizer to hang.
2. Attach the Strap
- I sewed the strap onto the backing using a Box-X stitch to help secure it.
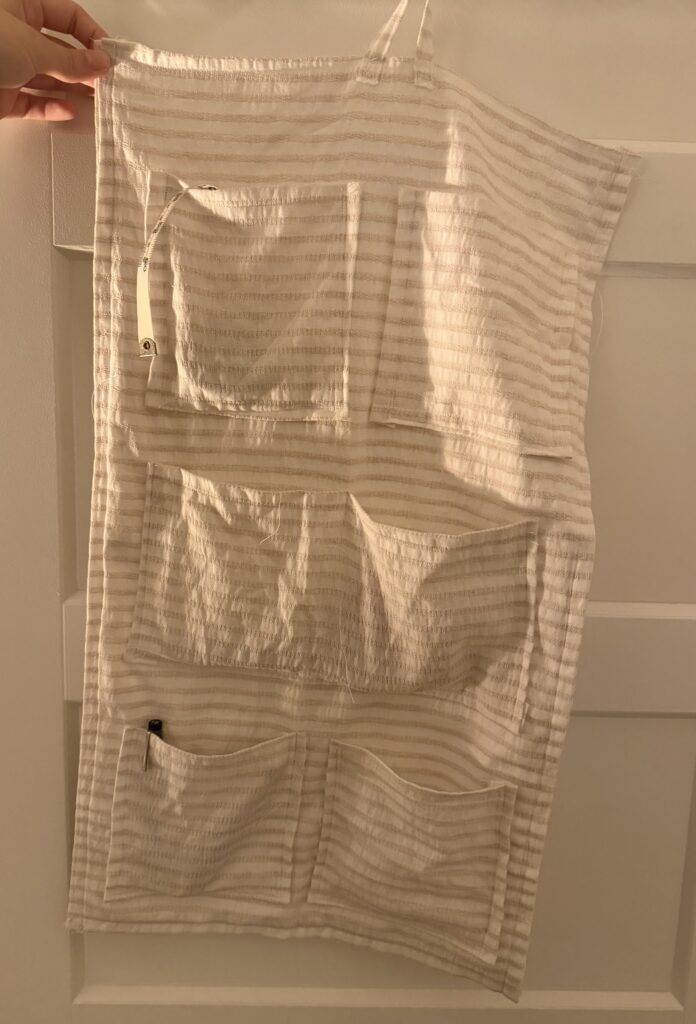
- Once the strap was attached, my hanging organizer was complete!
Photos of the Process…
Problems and Challenges…
One of the biggest challenges I faced was keeping my stitches straight and making sure the pockets were even. I found it difficult to sew with so much extra fabric around the sewing area because it would bunch up, making it harder to control the fabric.
I also noticed that my finished organizer does not hang as nicely as the example I used for inspiration. I think this is partly because my fabric is not as sturdy, which affects how well it holds its shape.
What I Learned…
Through this project, I gained more confidence using the sewing machine, especially when working with larger pieces of fabric and sewing longer lines. I was also surprised by how much easier sewing the corners was than I expected.
This project helped me see the importance of choosing materials that suit the purpose of what I am making. Moving forward, I want to continue improving my stitching and planning skills so I can create more polished projects.
Vocab of the Week…
Box-X stitch: A reinforcement technique where a square is sewn around an attachment point, with an X stitched diagonally through the middle to strengthen the fabric and distribute tension.
What’s Next…
My next project will be making a café curtain. For this project, I want to continue developing my ability to create and follow a sewing pattern. I also want to design a pattern that can be adjusted to fit different window sizes, rather than creating something that only works for one window.
As I continue developing my sewing skills, I will also focus on making my stitches straighter and more consistent. I am excited to apply what I have learned from these smaller projects to something that requires more planning and precision!