
Free Inquiry #5
Café Curtain…
Part 1:
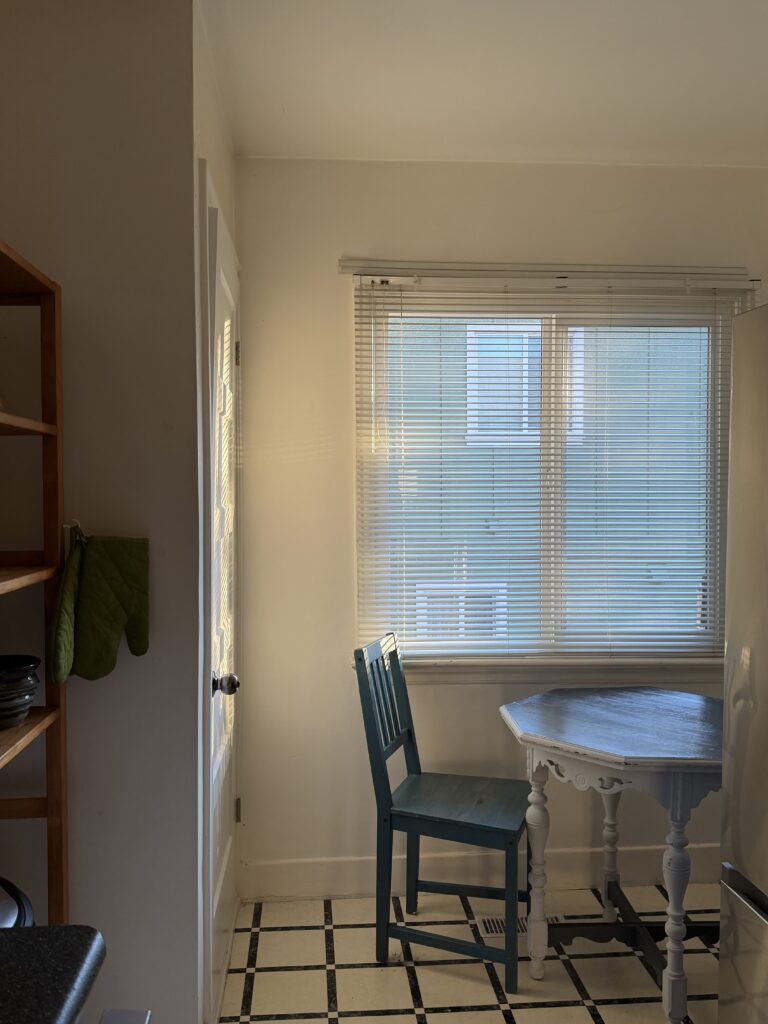
My roommates and I had talked about wanting a café curtain to cover our window for a while, even before I started sewing. At the time, I never really thought we would actually be able to have one. However, since deciding to learn how to sew, making a café curtain has been a project I have wanted to try for a while.
For this blog, I am focusing on developing my skills in creating and following a sewing pattern. In my two previous projects, I was fairly flexible with my technique and planning because I wanted to focus on gaining confidence with the sewing machine.
For my café curtain, I want to take a more structured approach by creating a pattern that can be reused and adjusted for different windows. I will be following my pattern throughout the process, measuring carefully, and making sure my hems are straight and even. This will help me develop better sewing habits and build the skills I need to take on more complex projects in the future, including my overall goal of making a pair of pants.
My Window…
Making a Repeatable Pattern…
For my previous projects, I mostly planned by drawing out a rough idea of what I wanted to make. For this project, I wanted to try a different approach by creating a pattern that I could save as a PDF and refer back to in the future.
Rather than making a pattern based on the exact measurements of our window, I wanted to create one that could be adjusted to fit different windows. I did some research on other curtain patterns and also asked my grandma, who has a lot of sewing experience, for advice on drafting my own.
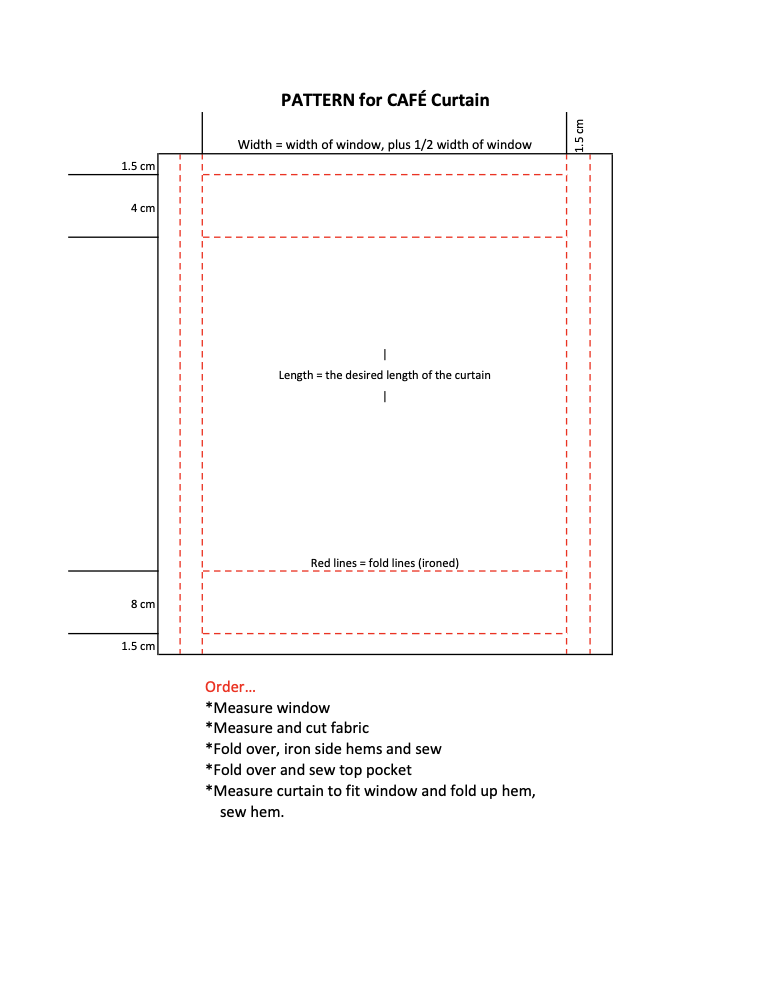
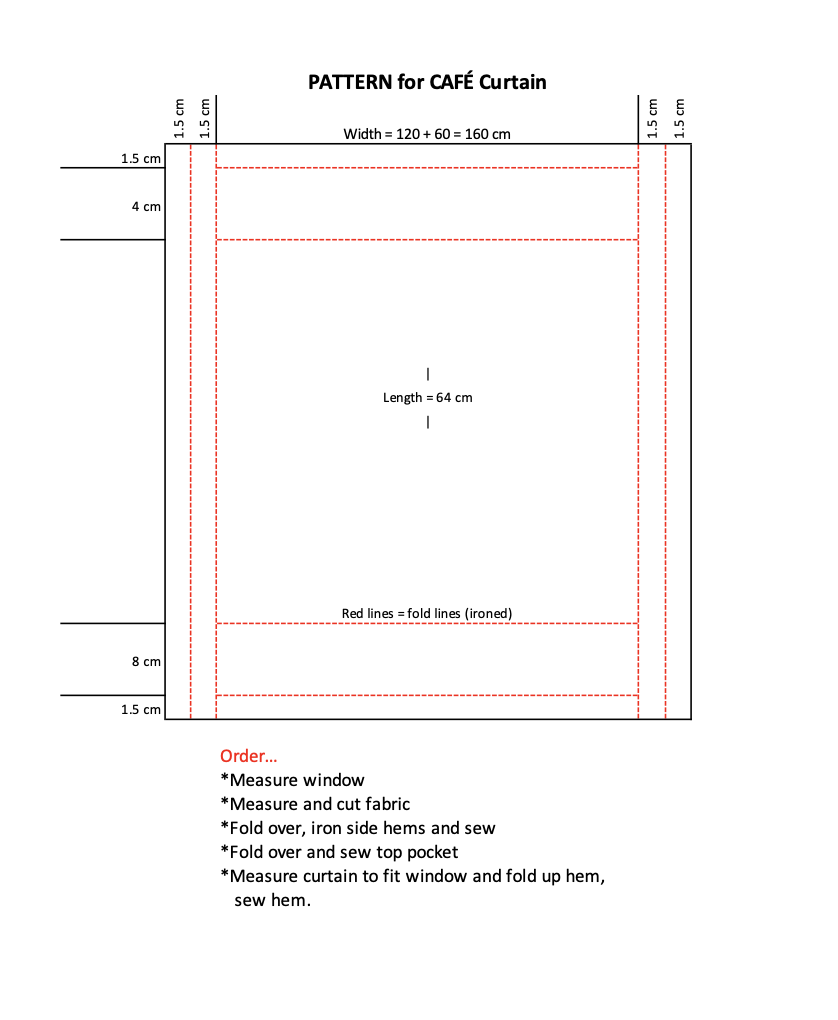
My pattern includes instructions for measuring the window, cutting the fabric, and creating the side hems, top pocket, and bottom hem. For the width, I added half the width of the window to allow for extra fullness in the curtain. I also included 1.5 cm for the side hems and an 8 cm allowance for the top pocket where the curtain rod will go (same allowance on the bottom).
Adjusting for my specific window…
Prepping the fabric…
Before I could start sewing, I needed to prepare my fabric. I bought a cotton-linen blend from a local fabric store back home. Pre-washing fabric is important because some fabrics can shrink when washed or dried. Washing it before sewing helps account for shrinkage before the finished project is made.
1. Washing…
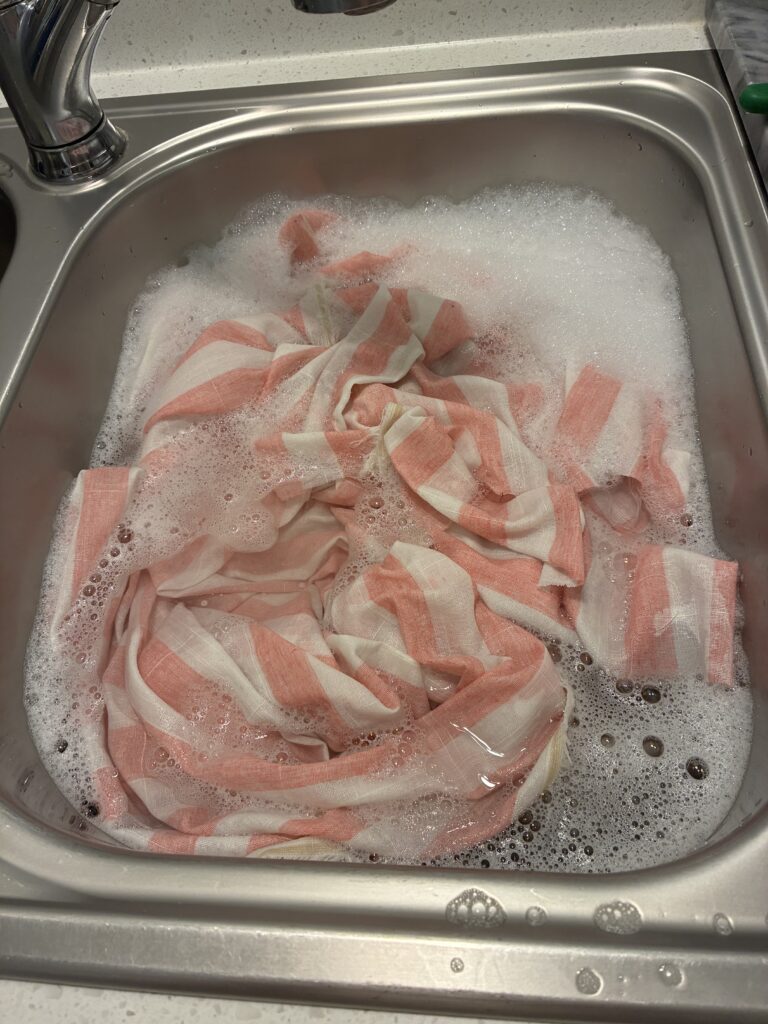
I hand-washed the fabric before starting the project to prepare it for use.
2. Drying…
After washing, I dried the fabric normally. However, I noticed that it shrank in the dryer. Thankfully, I had bought extra fabric, so the shrinkage did not cause any problems with my project.
3. Ironing…
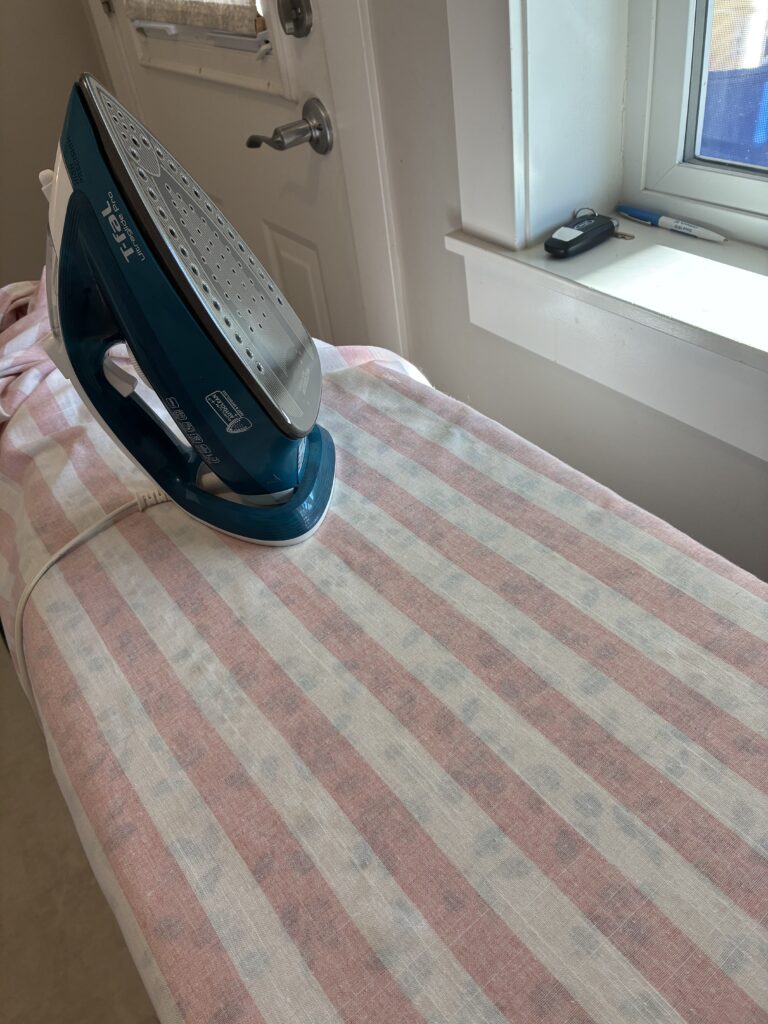
Once the fabric was dry, I ironed it to remove the wrinkles.
4. Measure and Cut…
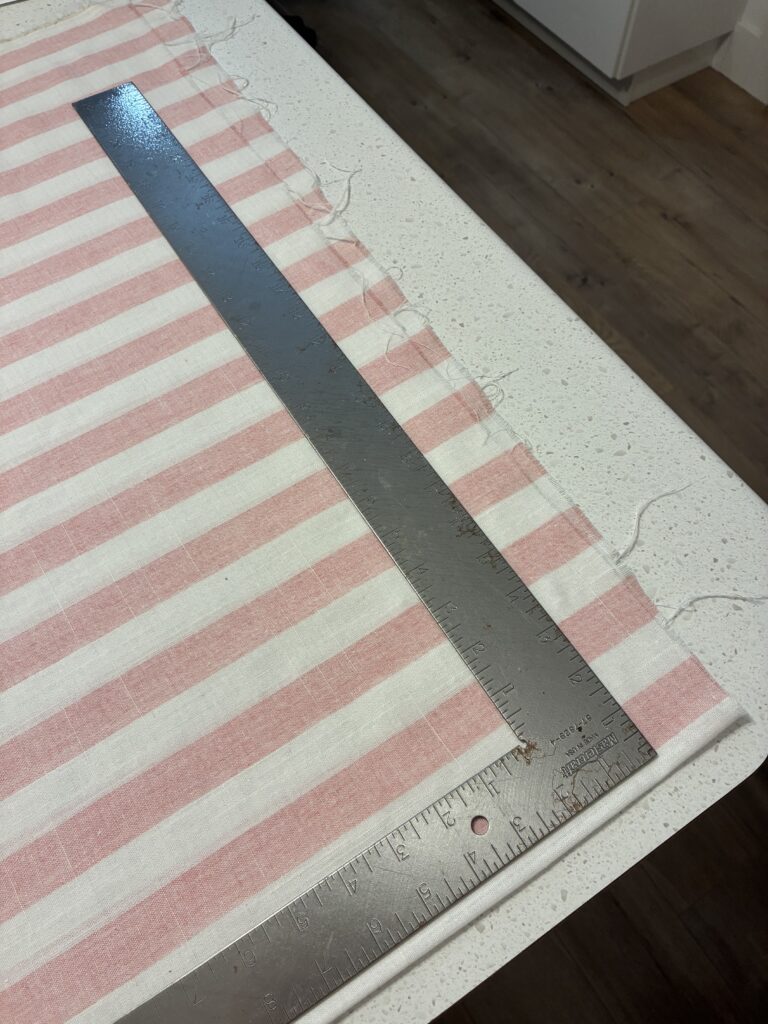
Using the measurements in my pattern, I measured and cut the fabric to the correct size. Following the pattern helped me be more precise than I had been with my previous projects.
5. Fold and PIn…
After cutting the fabric, I folded and pinned it according to my pattern. I also ironed the folds to help them stay in place, making the next step of sewing easier.
Photos of the Process…
Challenges and What I Learned…
One challenge I came across was figuring out how to create a pattern in a different way than I had for my previous projects. I found drafting a pattern with written measurements more difficult than simply drawing out what I wanted to make. However, I can see how this approach will be more useful in the future because the pattern can be saved and adjusted for different projects.
What’s Next…
Now that my fabric is prepared, I can move on to the actual sewing of the curtain. I want to follow my pattern carefully and continue practising straight, even stitching. I am also hoping to document the process of installing the finished curtain, so I can see the project through from planning to completion.