
Free Inquiry #2
Learning the Basics…
In this post, I focus on learning the basics of using a sewing machine and practicing my stitching through a small project. I decided to start with a simple keychain made from scrap fabric so I could focus on building my skills before moving on to larger projects. Along the way, I ran into a few challenges that helped me learn more about how the machine works.
Problems I came across…
Before I could really start sewing, I ran into a problem with the presser foot.
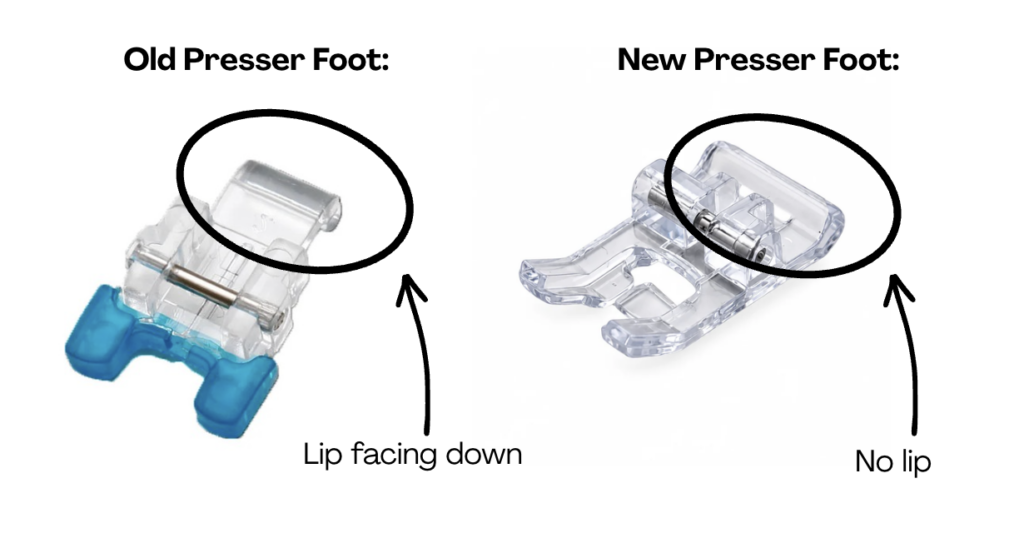
Since I was borrowing a sewing machine from a friend who also had little experience with sewing, neither of us knew much about the machine. As I began practicing my first stitches, I noticed that the fabric would bunch up just before reaching the end of the presser foot. When I took a closer look, I noticed a small lip at the back of the foot. After comparing it with images of other presser feet, I realized that this was unusual.
After doing some more research, I discovered that the foot was specifically designed for sewing on buttons, making it unsuitable for the straight stitches I needed for my project.
To solve the problem, I visited a local fabric store and explained what was happening. Thankfully, they were kind enough to give me an extra presser foot they had lying around. The new foot works great, and I can finally get started on my sewing projects!
My First Small Project…
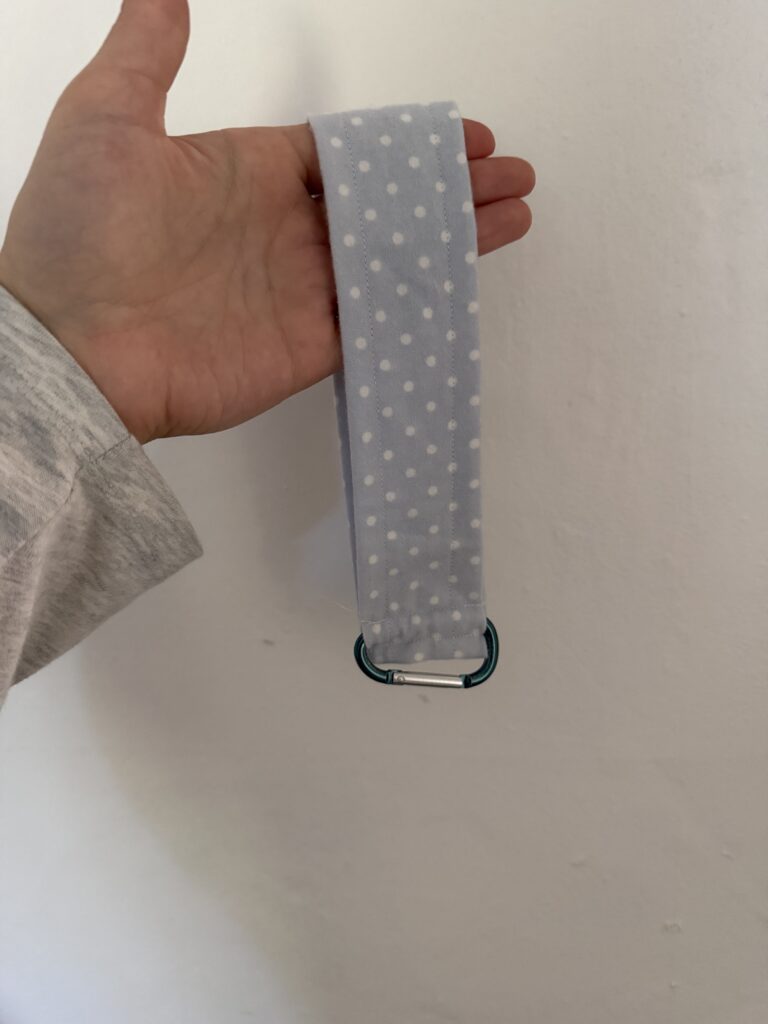
I decided that I wanted my first small project to be just me creating something out of a scrap piece of fabric I had lying around. I really wanted to focus on my stitching without the extra complications of measuring and following a pattern, so I decided to create my own keychain.
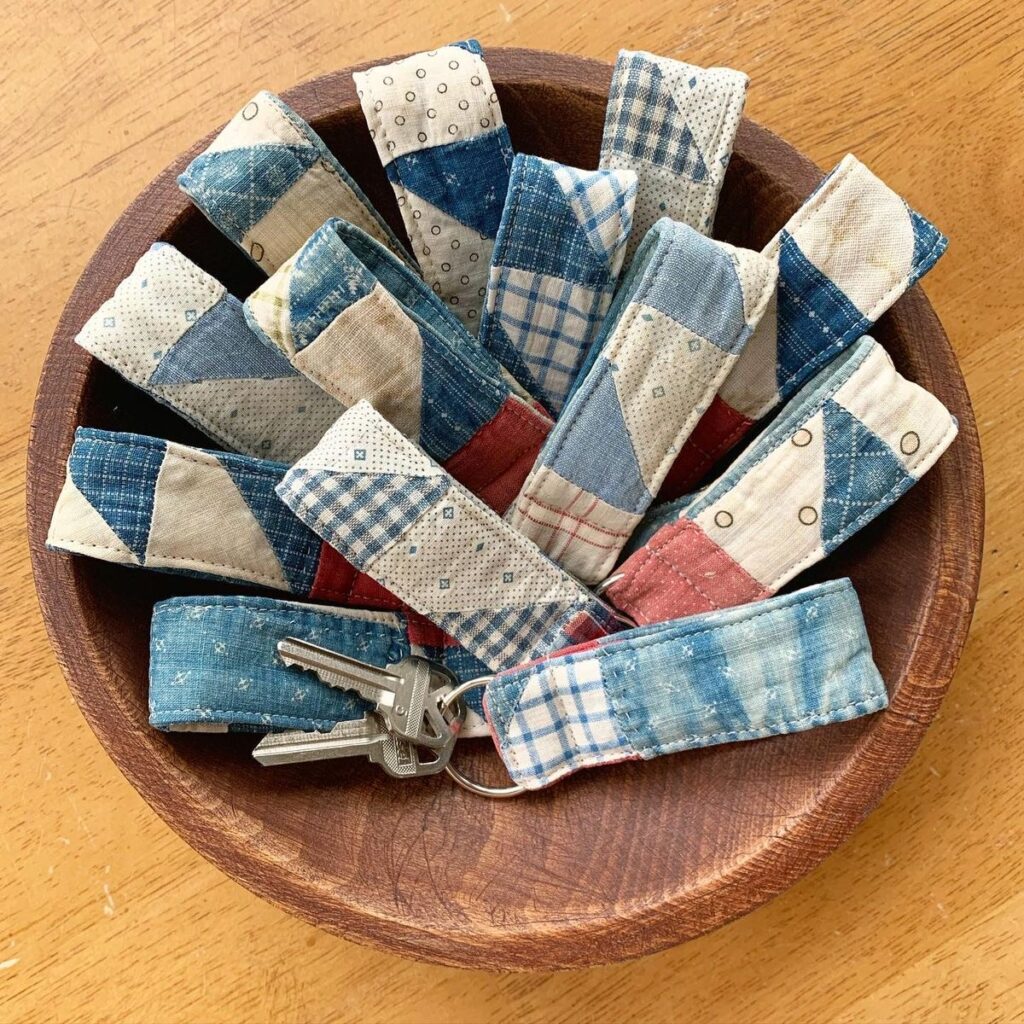
An example of the shape of the keychain I am going for.
My Process…
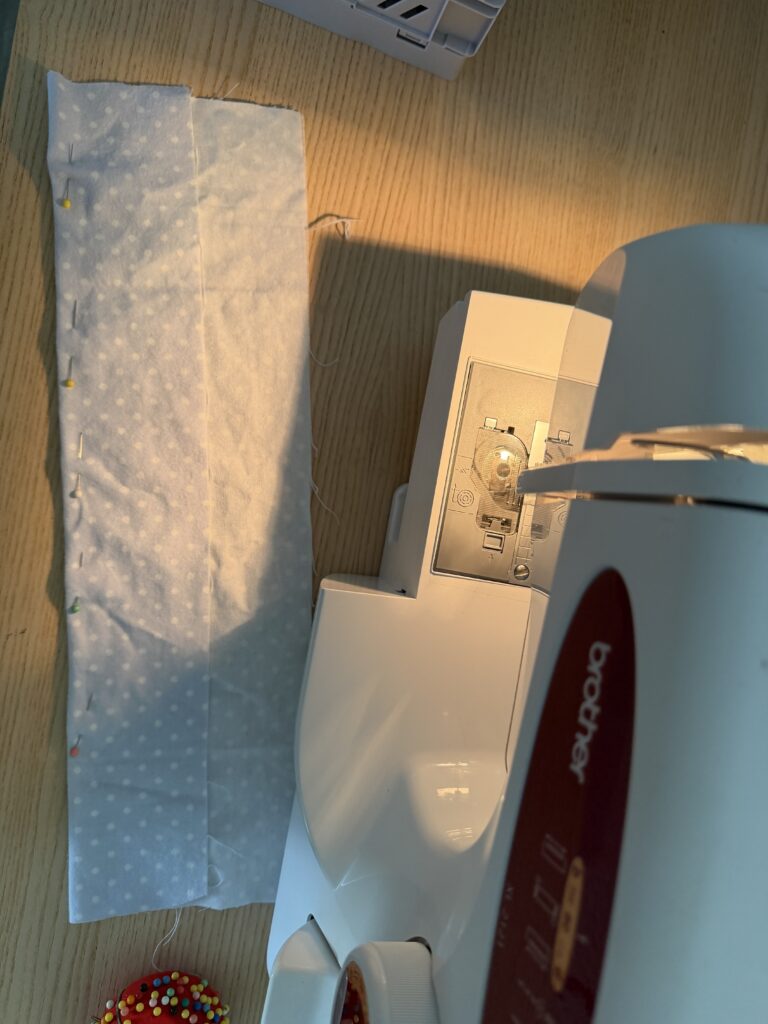
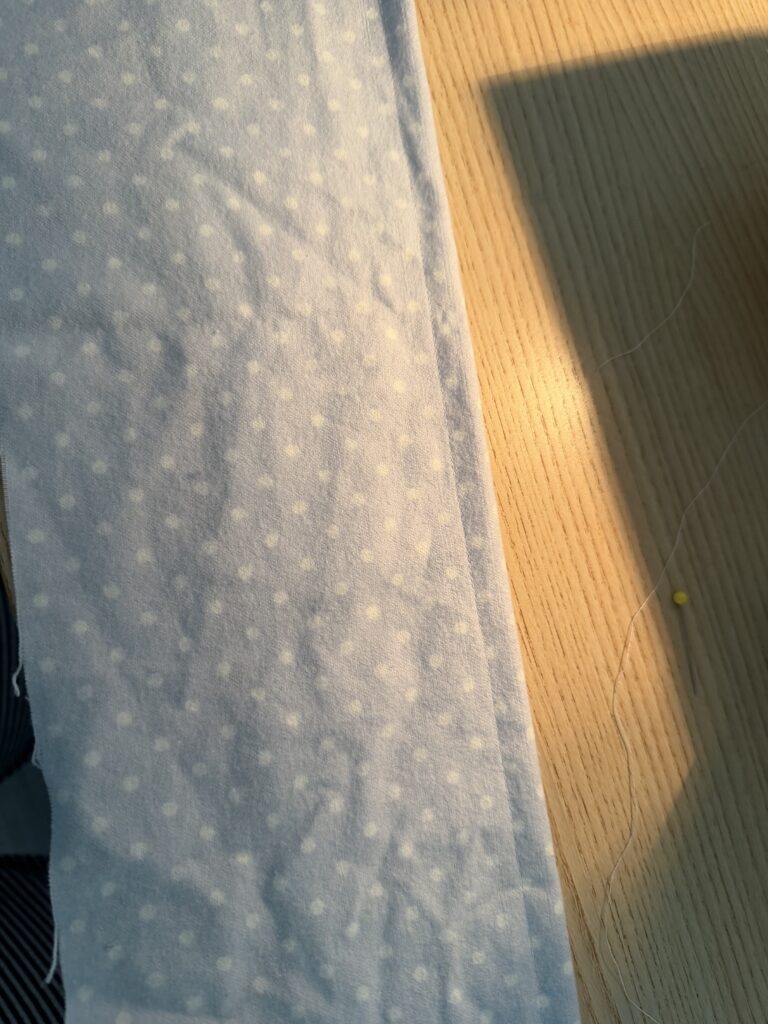
- I started by folding my fabric into three sections.
- I sewed along one of the folds to hold the fabric in place using a backstitch at the beginning and end of my stitching.
- Next, I folded the other section over and sewed through all three layers of fabric to secure them together.
- I then cut along the seam. This left a raw edge that I planned to hide inside the fold of my keychain.
- I folded the piece in half horizontally, bringing the two ends together to create a loop.
- Finally, I sewed the two ends together, leaving about a centimetre of space for the keyring. I added another straight stitch to help secure the loop and finish my keychain.
Photos of the Process…
Vocab of the Week…
BackStitch: Sewing backward over the beginning or end of a seam to secure the stitches and keep them from coming undone.
Seam: The line where two pieces of fabric are sewn together.